Studio life · 3 min read
How to clean and sterilise tattoo equipment
Single-use needles, barrier film, autoclaves and surface disinfection: the routine that keeps every client safe, and what to look for as a customer.
M.D Cost, Copywriter, DyeDem ·
Every tattoo breaks the skin, so every studio is responsible for stopping infections before they start. Good hygiene isn't one product or one machine; it is a routine repeated before, during and after every client. This guide walks through that routine for artists, and gives clients an idea of what a careful studio looks like.
It is a general overview, not a replacement for training. Health rules differ from place to place, so follow the requirements of your local health authority (in the Philippines, your city or municipal health office and the Department of Health), and take a proper course in bloodborne pathogens and infection control.
Single use means single use
Needles and cartridges should arrive sterile and sealed, be opened in front of the client, and go straight into a sharps container afterwards. Ink caps, ink, gloves, razors, stencil applicators and petroleum jelly are also single use: portion out what a session needs and throw away anything left over. Never pour unused ink back into the bottle.
Cover what you can't sterilise
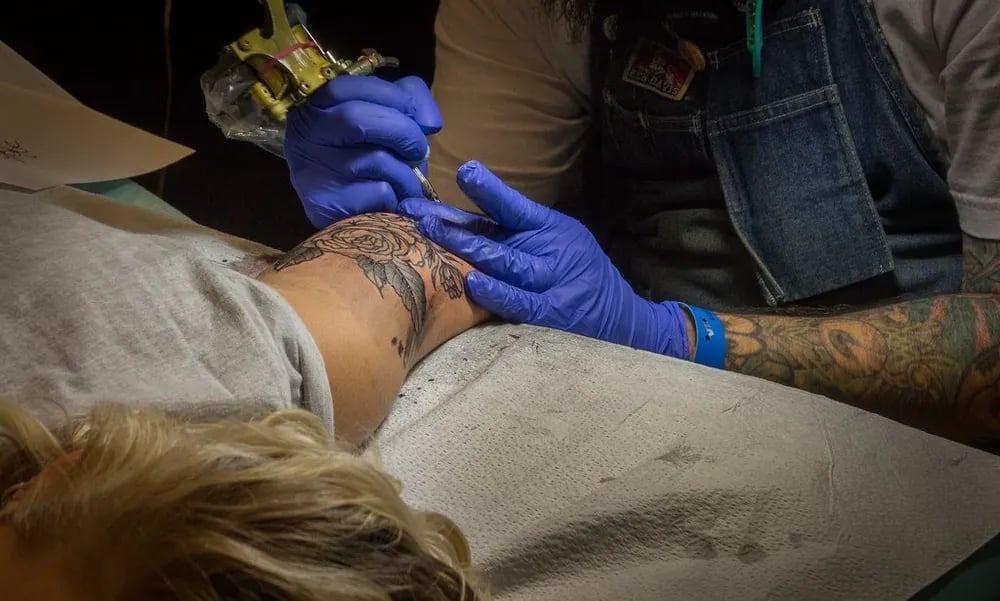
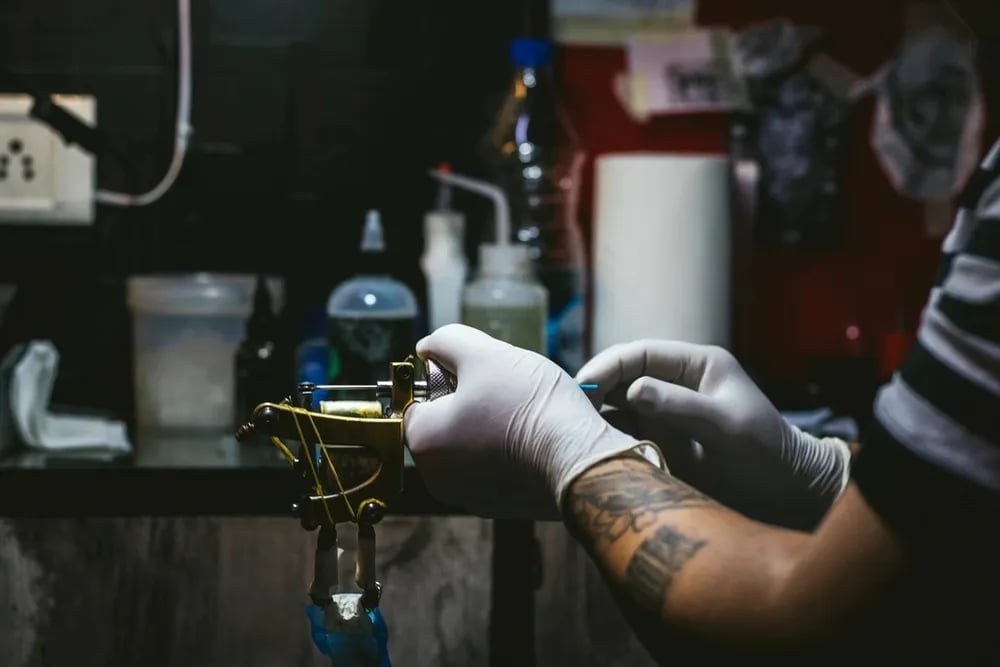
Machines, clip cords, power supplies, spray bottles and chair surfaces can't go in an autoclave, so they are covered with plastic barrier film or bags before the session. When you are done, remove the barriers carefully to avoid spreading contamination, then clean and disinfect the surfaces underneath.
Setting up a station
- Wash your hands thoroughly and put on fresh gloves.
- Clean the work surfaces, then disinfect them with a product approved for the purpose, leaving it on for the full contact time on the label.
- Cover the machine, cords, bottles and any surface you will touch with barrier film.
- Lay out single-use items on a clean, covered tray.
- Change gloves whenever you touch anything outside the clean area.
Breaking down after a client
- Put needles and cartridges in the sharps container immediately.
- Put contaminated waste in the correct clinical waste bag.
- Remove barriers, then clean and disinfect every surface and the chair or bed.
- Take reusable tools to the cleaning area in a closed container.
- Wash your hands, even though you wore gloves.
Reusable tools: clean, then sterilise
Anything reusable that touches broken skin, such as stainless steel grips or tubes, has to be both cleaned and sterilised. Cleaning comes first: scrub off visible residue, then use an ultrasonic cleaner, because steam can't sterilise what is hidden under dried ink or blood. Rinse, dry and seal each item in a sterilisation pouch with a colour-changing indicator.
Sterilisation then happens in an autoclave, which uses pressurised steam to kill bacteria, viruses and spores. Run it exactly as the manufacturer and your local rules require, keep a log of each cycle, and check that it works with regular spore tests. Store sterilised pouches sealed, dry and dated, and open them only in front of the client.
What clients can look for
- Needles and cartridges opened from sealed packs in front of you.
- Fresh gloves, changed whenever the artist touches something else.
- Machines and bottles wrapped in barrier film.
- A clean, uncluttered station and a sharps container nearby.
- An artist who is happy to explain their routine when you ask.
A careful studio never minds the question. If someone gets defensive when you ask how they sterilise, ask somewhere else.